Add an email address to your Outlook contact list or safe sender list
Outlook.com is now the home for Hotmail, Live Mail, and other Microsoft email products for consumers. If you’re finding email you want is ending up in your junk mail folder, there’s a couple things you can do to prevent that from happening in the future. First, if the email is already in your junk folder, you can mark it as not spam to teach Outlook that you want to receive that type of message in the future. If you want to prevent desired messages from ending up in junk before they get there, you can use the safe sender list to designate specific sender’s email address, or whole domains, as “safe”. Email addresses in the Safe Senders List are never treated as junk email. We’ll outline the detailed steps for doing these things below.
Safe Senders list
By default, email addresses in your Outlook contacts are considered safe senders by the Junk Email Filter, but you can change this setting. Email messages from safe senders are never routed to the Junk E-mail folder.
Add a sender to the Online (web) version of Outlook
To add people to your Safe Senders List, do the following:
- Sign into your Outlook.com account from a computer
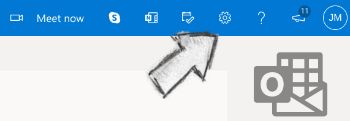
- Select the Settings icon (gear icon) at the top-right corner

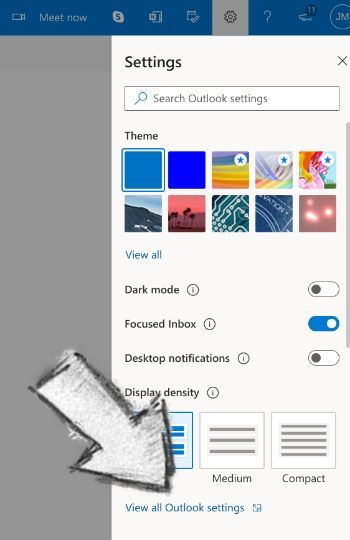
- Select View all Outlook settings

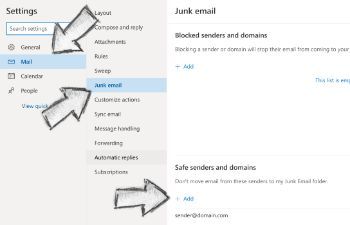
- Select Mail
- Select Junk email
- Under the Safe senders and domains header, select Add

- Enter the sender email address then press the [Enter] key on your keyboard
- Select the Save that appears in the bottom-right corner
Now messages sent from that safe email address will end up in your inbox going forward.
Check blocked senders and safe senders list
If messages keep ending up in your junk folder from a safe sender, you may have accidently added that sender to your blocked senders. You can check that list to make sure it’s correct.
- Sign into your Outlook.com email account
- Select the Settings icon (gear icon) at the top-right corner
- Select View all Outlook settings at the bottom
- Select Mail, and then select Junk email
- If you see the sender’s email address listed under the Blocked senders and domains header, select Remove button (trash can) next to it to remove it from the list
Mark a message as “not junk”
If a desired message is already in your junk folder, you can mark it as not spam. This will move the message to your inbox and teach Outlook that you trust that type of message. You should also regularly check your junk folder to see if legitimate messages ended up there that you didn’t notice. Messages in the junk mail folder are automatically deleted after 10 days.
- Sign in to your Outlook.com (Live) account
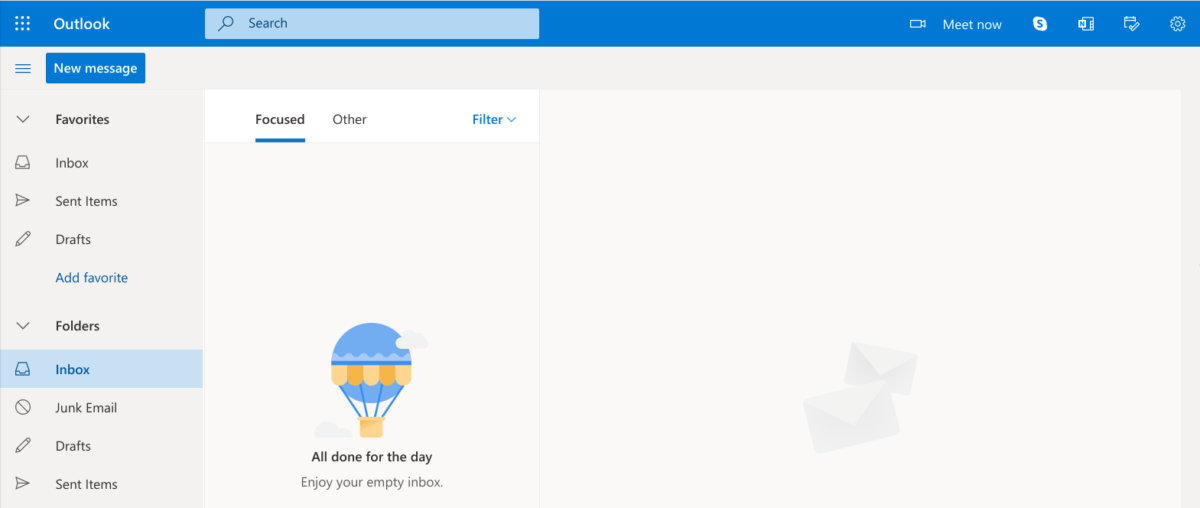
- Select the Junk Email folder and look for the missing email
- Right-click the desired email and then select Mark as not junk. The message will automatically be moved to your inbox.
Did this guide work for you?
Let us know if this guide for Outlook worked for you by leaving a comment below. While we strive to keep our guides up-to-date and relevant, sometimes things change without notice. If you find something is different in your Outlook Email account from this guide, let us know what you had to do differently. Thanks for your help and input!
Similar guides
There are many different versions of Outlook so if the above instructions didn’t work for you, check the guides below for different versions.

55 replies on “How to whitelist in Outlook.com (updated for 2024)”
K T Forge will be shut down from 24th December 2024
and starting up on the 6th January 2025
Do not send solicitations to my e-mail address.
No “all account settings” option when viewing outlook live in Safari on iOS 17.5 as of July 2024. Appears impossible to find.
My notice was in SPAM
I ove compertion I you to alls play compertoin when I you to work for marieclarie thank you